
FuturePBX: Difference between revisions
Rename product Tucloud PBX -> FuturePBX (public brand launch 2026-08-03); API surface unchanged |
FuturePBX logo (PNG) |
||
| Line 1: | Line 1: | ||
[[File:FuturePBX-bird. | [[File:FuturePBX-bird.png|right|120px|link=|FuturePBX]] | ||
= Description = | = Description = | ||
Help for FuturePBX. | Help for FuturePBX. | ||
Revision as of 13:52, 3 August 2026

Description
Help for FuturePBX.
Programming Manual
Description of everything that can be configured in our FuturePBX.
Main Menu
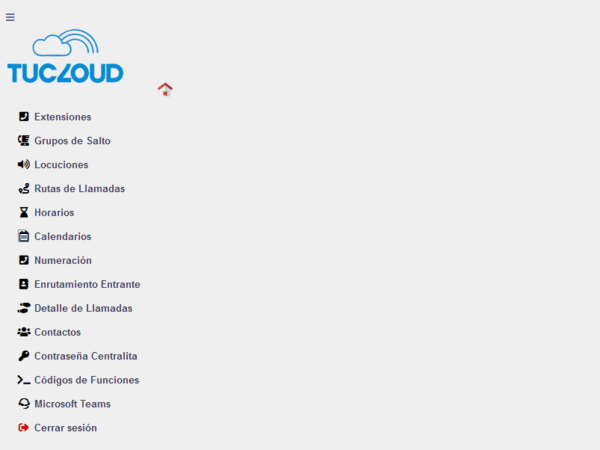
Extensions
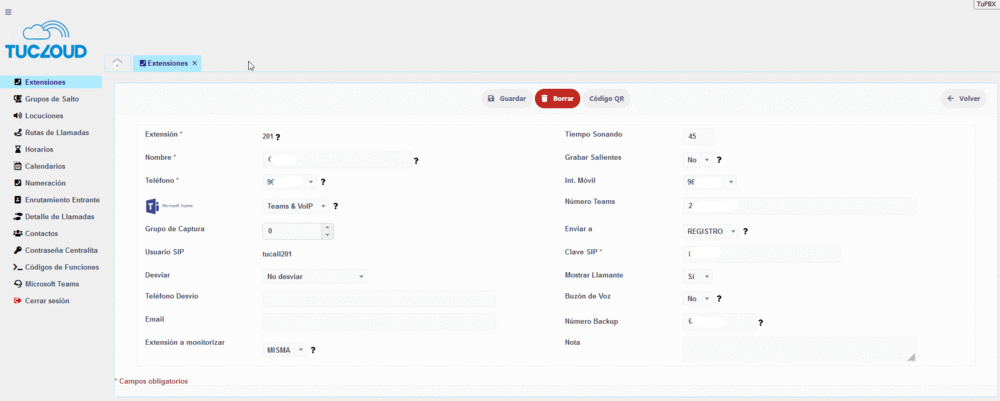
In this menu you configure everything related to extensions. Once inside, choose the extension to configure.
- Extension: the extension number; this is the number to dial to reach it.
- Name: change the extension name; it is shown when calling other extensions in the system.
- Phone: choose from the drop-down which phone number you identify with when placing a call.
- Microsoft Teams: in the drop-down, choose how the extension works — as traditional VoIP, tied to Microsoft Teams (a licence is required), or both.
- Pickup group: sets the pickup group, linked to code *33. You can make all extensions in a department (e.g. Accounting) share the same group so you can pick up any ringing extension with *33.
- SIP user: the text to enter in the "User" field of your softphone or IP phone.
- Forward: in the drop-down choose how incoming calls to this extension behave.
- Forward phone: the number calls are forwarded to according to the option chosen above.
- Email: the e-mail address where the system sends voicemail recordings.
- Extension to monitor: used to enable the Backup number. Indicate the link extension, with the device where the extension is registered directly (for example a SecureSIP).
- Ring time: time in seconds the extension rings before hanging up (one ring tone is about 3 seconds).
- Record outgoing: in the drop-down choose whether to record calls; this service has an additional cost.
- Int. Mobile:
- Teams number: the number used when using Microsoft Teams.
- Send to: in the drop-down choose where incoming calls to this extension go. You can send all your calls to another extension — useful if you have a local PBX.
- SIP password: the password used to register your softphone or IP phone.
- Show caller: in the drop-down choose whether caller information is displayed.
- Voicemail: in the drop-down choose whether this extension has voicemail; recorded messages are sent to the e-mail configured above.
- Backup number: called when the extension is not registered. Can be used with remote devices where the extension registers directly (for example a SecureSIP).
- Note: any information can be added here; it has no effect on the programming.
Hop Group
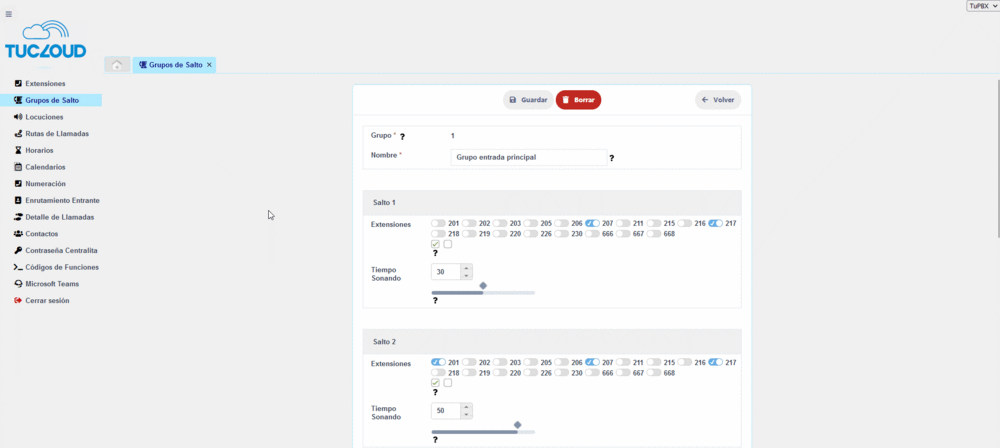
In this menu you configure everything related to hop groups: how the call behaves when it enters a hop group and which extensions make it up.
- Group: the hop group number.
- Name: the group name, so you can identify it correctly.
- Hop 1
- Extensions: the extensions that ring first when calling.
- Ring time: how long the selected extensions ring before moving to the next hop. Enter the number in seconds or use the slider below.
- The two checkboxes select or clear the selection of all extensions.
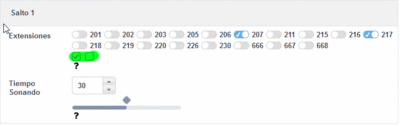
- Hop 2, Hop 3, Hop 4 and Hop 5: same as Hop 1; these hops run in order once the previous one has finished.
Locutions
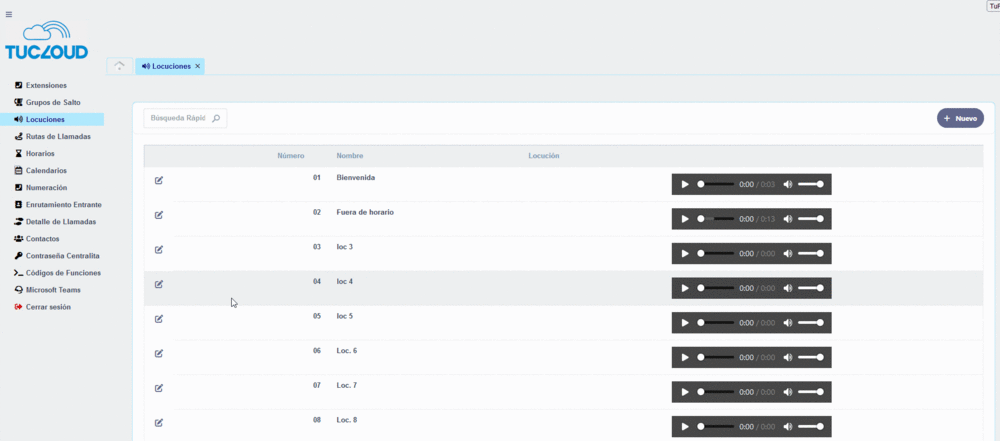
In this menu you manage everything related to locutions. Once inside, choose the locution to manage by clicking the  icon, or click the 'Play' button
  to listen to that locution.
Locution editing
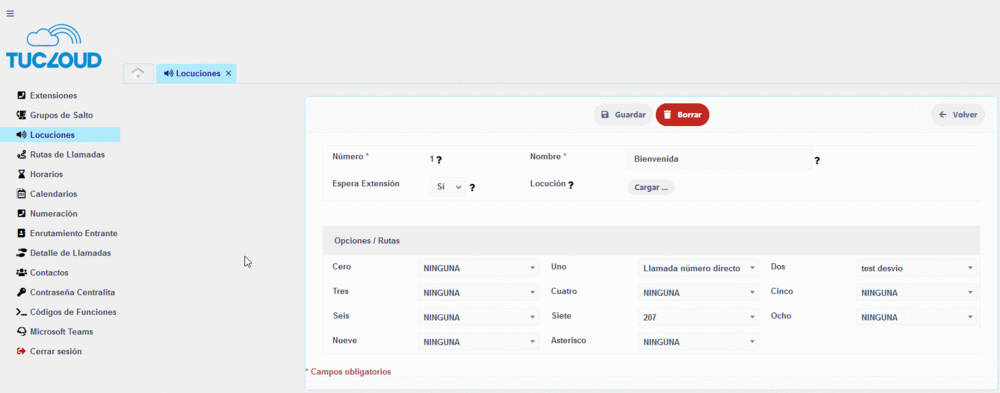
- Number: locution number, to identify it.
- Name: a name for your locution.
- Wait for extension: in the drop-down, choose whether the caller can dial an extension number while the locution plays and be transferred to that extension.
- Locution: click the
 icon to open a window where you choose an audio file to play for this locution. The audio file must be: WAV format, mono, 16 bit, 8 kHz.
 - Route options
- For each key, choose in the drop-down what happens when the caller presses that phone key during the locution (the choices are Call Routes).
Call Route
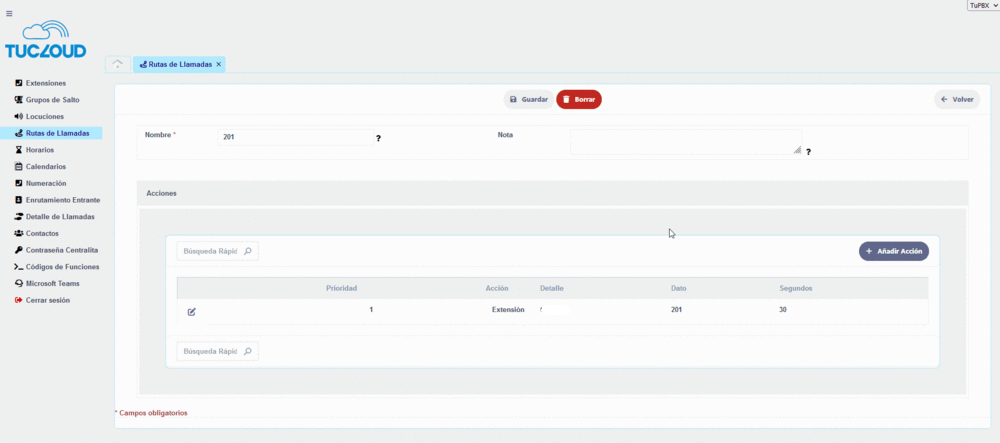
In this menu you configure everything related to call routes and how a call behaves when it enters a route.
- Name: the route name, so you can identify it correctly.
- Note: any reminder; it has no effect on the programming.
- Actions
- First press the
 button to add a new line to the group; then click the icon to edit it.
- First press the

- Priority: the order in which the line runs; numbers cannot repeat, go from lowest to highest and cannot skip.
- Action: in the drop-down choose what to do, e.g. call an extension, a group, a locution…
- Extension action: set the extension number in 'Extension' and, below, the time it rings on that extension.
- Group action: set the call group the call is passed to.
- Locution action: set the locution to use.
- Go to Priority action: jumps to the priority number you specify (use carefully to avoid loops that block the PBX).
- Hang up action: hangs up the call (should be the last option in the call route).
- Voicemail action: set the extension voicemail to use.
- Jump to Route action: set which call route to go to.
- Calendar action: choose the calendar to use from that point.
- Schedule action: choose the schedule to use from that point.
Schedules
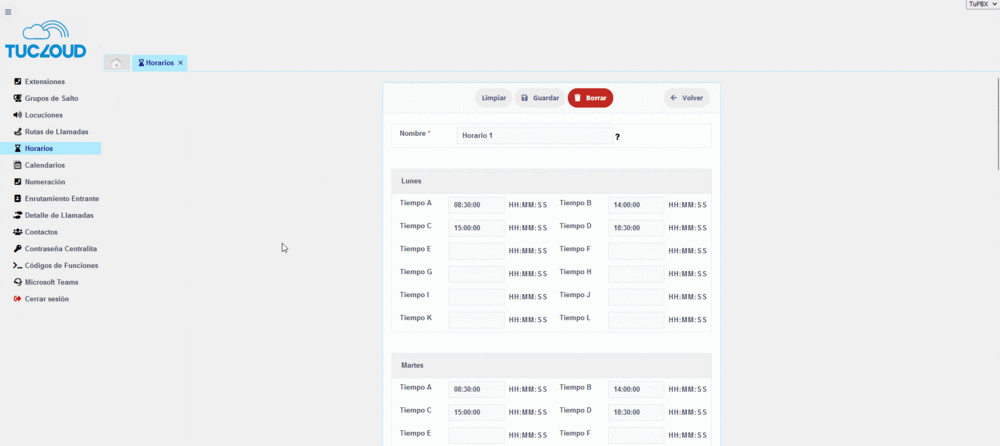
In this menu you configure everything related to schedules.
- Name: the schedule name, so you can identify it correctly.
- Monday to Sunday: set each day's schedule; if a day has no schedule (e.g. weekends) leave everything at 00:00:00.
- Time A: start of the working day.
- Time B: first programming change (e.g. midday break start).
- Time C: next programming change (e.g. afternoon start).
- Time D: next programming change (e.g. afternoon end).
- Time E to L: next programming changes.
Calendar
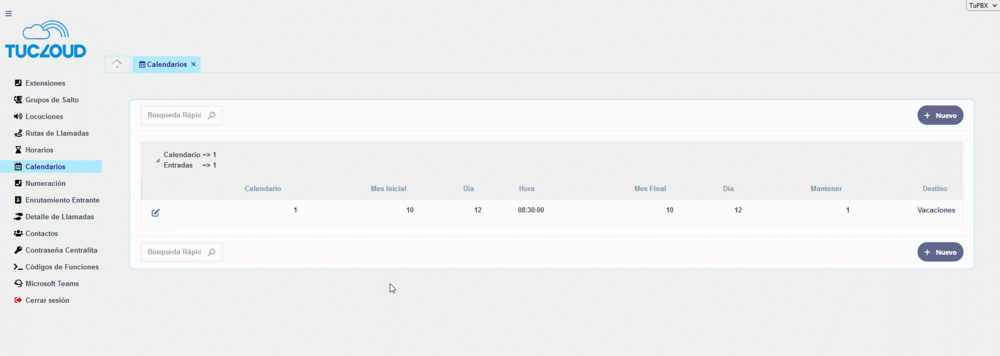
In this menu you configure everything related to calendars; here you can set holiday dates.
- First press the button to add a new line to the calendars; then click the icon to edit it.
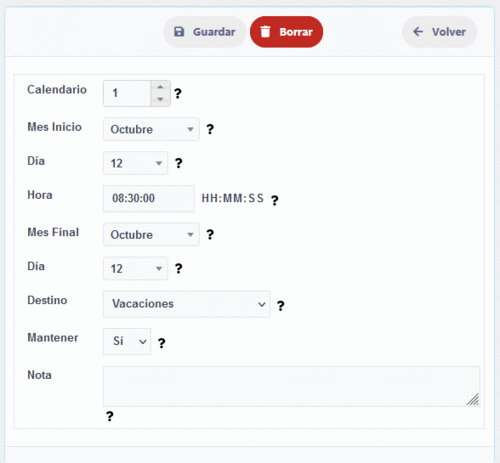
- Calendar: the calendar number to edit.
- Start Month / Start Day / Start Time: when the holiday starts.
- End Month / End Day / End Time: when the holiday ends.
- Destination: the call route the call goes to.
- Keep: in the drop-down choose whether it repeats every year or only once.
- Note: annotations; no effect on the programming.
Numbering
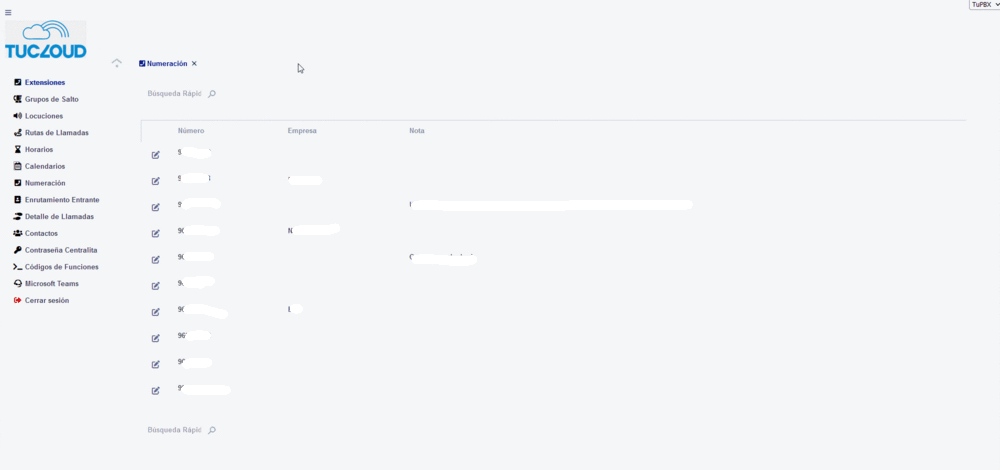
In this menu you manage everything related to the numbering registered in this FuturePBX. Once inside, choose the number to manage by clicking the icon.
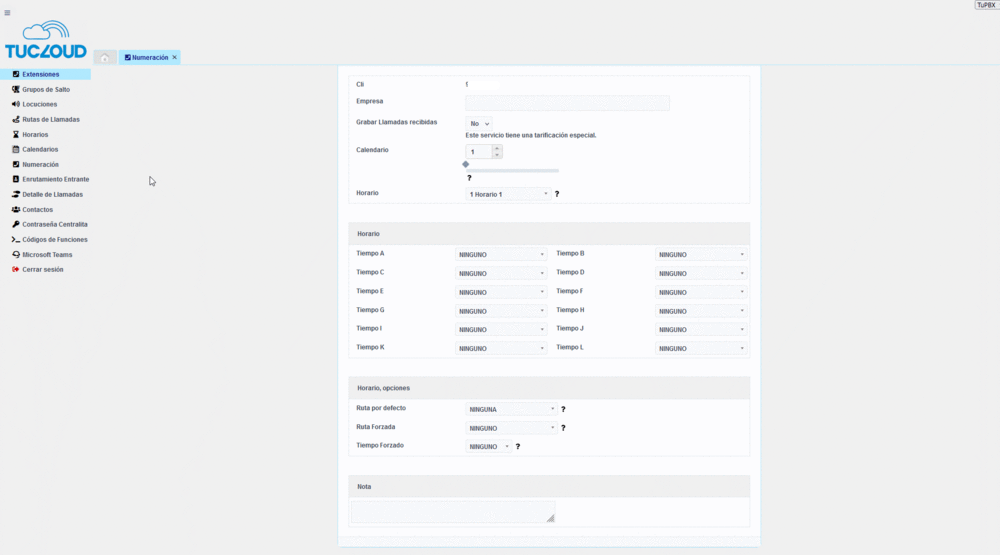
- CLI: the number being configured.
- Record received calls: in the drop-down choose whether incoming calls are recorded (this service has an additional cost).
- Calendar: choose the calendar for this number.
- Schedule: choose the schedule for this number.
- Time A to L: choose the Call Route that runs when each 'Time' starts.
- Schedule options
- Default route: call route used if there is any inconsistency in the programmed schedules.
- Forced route: call route used ignoring the time programming.
- Forced time: forces the chosen time, ignoring the PBX schedule.
- Note: any data; not used for the programming.
Incoming Routing
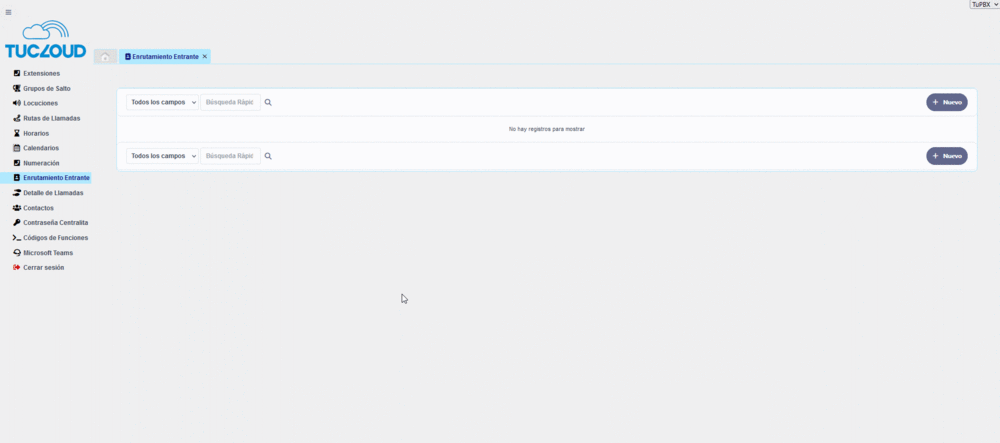
In this menu you configure how the PBX behaves based on an incoming number.
- First press the
 button to add a new incoming-routing line.
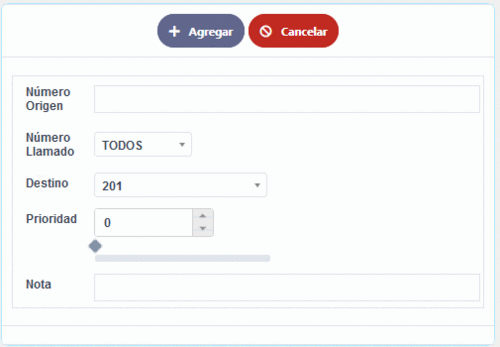
- Source number: the number for which you set an exclusive programming.
- Called number: in the drop-down, the number the call came in through.
- Priority: the order in which the programming is placed; you can have several programmings for the same number, run from lowest to highest.
- Note: any data; no effect on the programming.
Call Detail
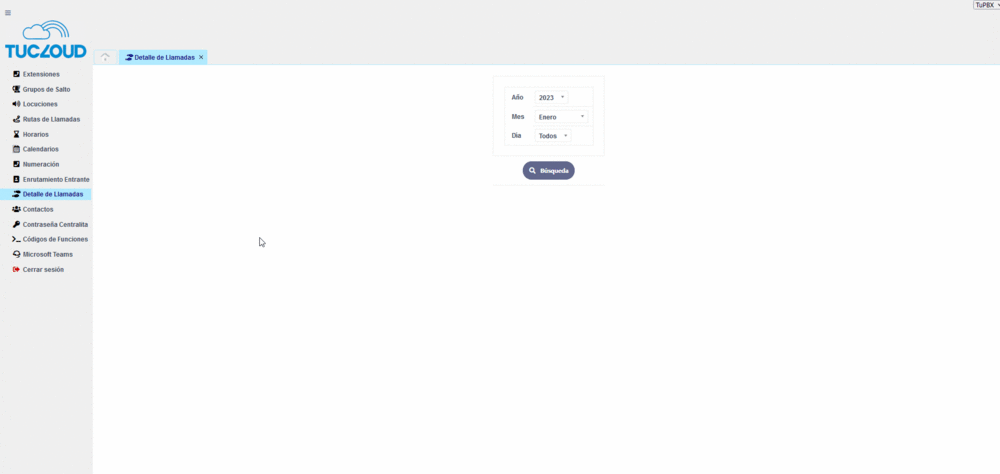
In this menu you can see the calls made and received. Choose Year, Month and Day and it shows a list of calls for that date.
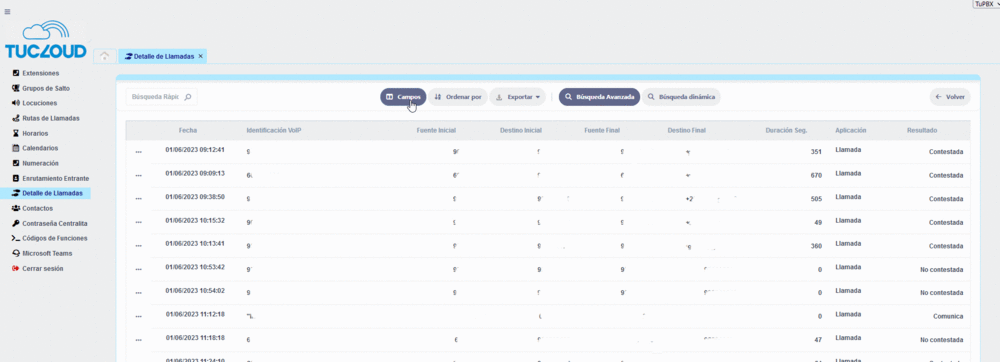
After pressing 'Search' the call list is shown; it can be modified, exported, printed…
- Fields:
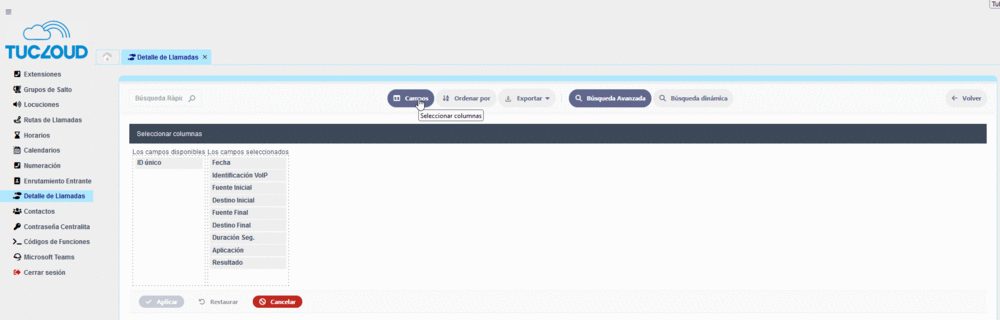
- Choose which fields are shown in the list.
- Sort by:
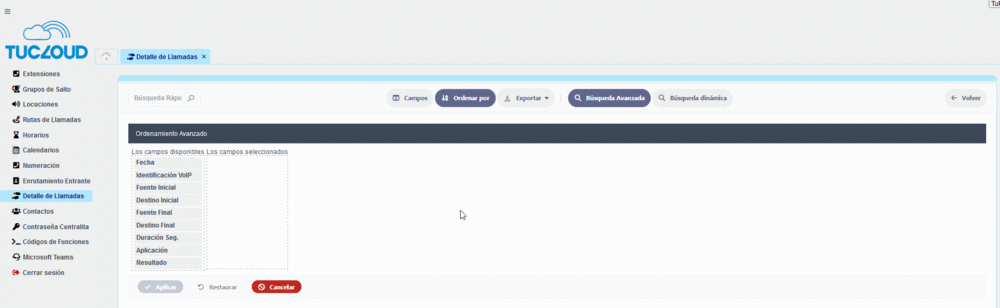
- Choose which field(s) to sort the list by. You can choose several; the list is sorted in the order you pick them.
- Export:
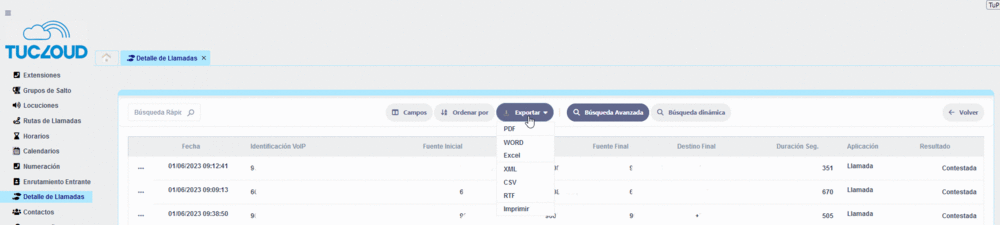
- Choose what to do with the list — export it in several formats or print it.
- Advanced search:
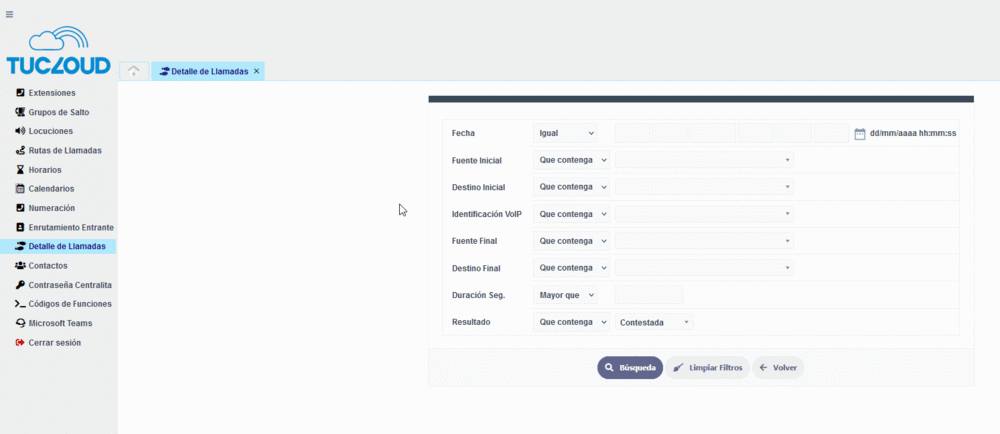
- A search with more options than the initial one.
- Dynamic search:
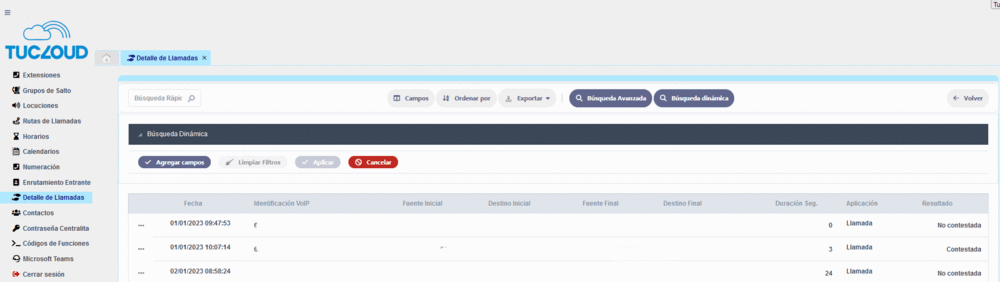
- Filter the list you already have to refine the search further.

- A button
 appears to add a field that, once filled in, filters the list by that new data.
Contacts
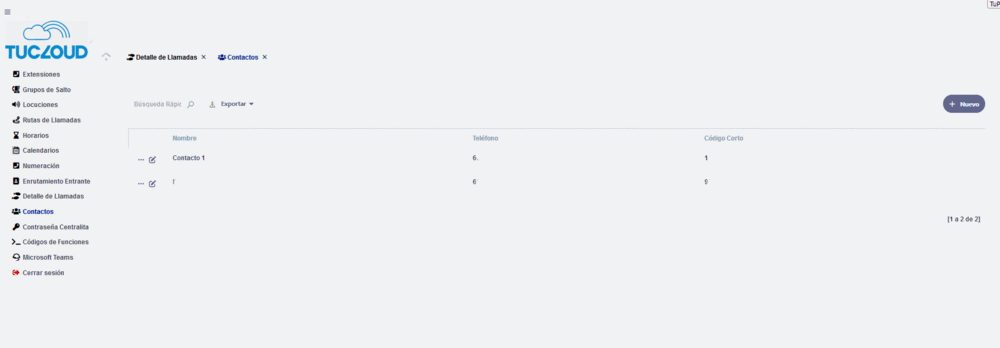
In this menu you manage a contacts directory; you can call with the code assigned, and when the contact calls their name appears on the phones.
- First press the
 button to open a new contact card. If it already exists, click the icon to edit it.
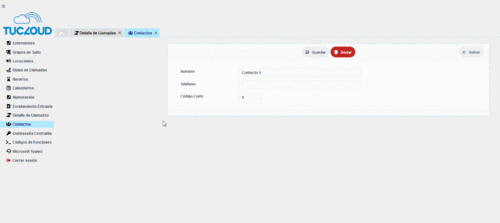
- Name: the contact name; shown on phones when they call.
- Phone: the phone number.
- Short code: a number to call the contact quickly.
PBX Password
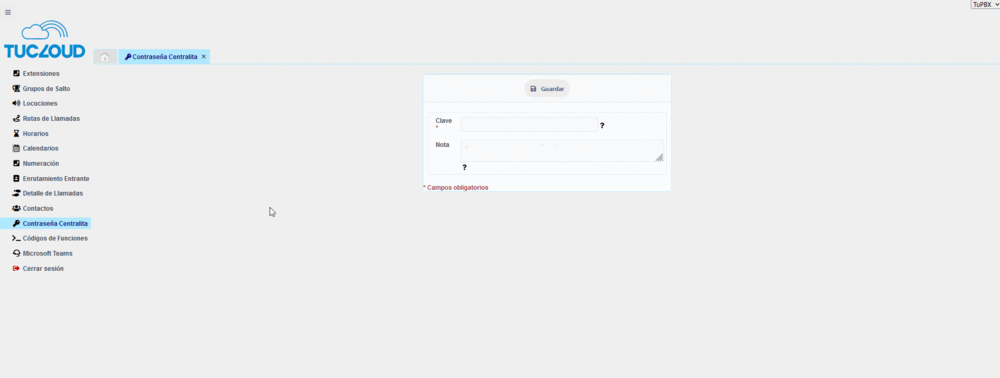
In this menu you set the PBX password.
- Password: the new password to use.
- Note: any data; no effect on the programming.
Feature Codes
Codes you can use directly from the phone to enable or disable FuturePBX features.
Anonymous call
*31* + Destination No.
Lets you place a call with a hidden number. Note: on some devices such as Grandstream, feature codes must be disabled, as they conflict.
Group pickup
*33
Picks up the call ringing on any extension.
Directed pickup
*33 + Extension No.
Picks up the call ringing on a specific extension, whether or not it belongs to a group.
Pickup group
*34 + Group
Picks up the call ringing on any extension within an assigned pickup group.
Locutions and Voicemail
Listen to and record locutions
*40 + LOCUTION No.
To listen to one of the locutions recorded in your FuturePBX, press *40 + LOCUTION No. and choose option 1. To record a new locution, press *40 + LOCUTION No. and choose option 2.
Voicemail
*69
Listen to the messages left in your voicemail, change the mailbox greeting and other options.
Change time programming
*5X
In the PBX you can customise the incoming-call route for each of the "times" you define. From your phone you can force all calls to enter through the route matching "time X" simply and immediately. It is in automatic mode by default, and is switched quickly with these codes:
- *500 + DDI number — automatic time
- *501 + (DDI number or Schedule) — time A
- *502 + (DDI number or Schedule) — time B
- *503 + (DDI number or Schedule) — time C
- *504 + (DDI number or Schedule) — time D
- *505 + (DDI number or Schedule) — time E
- *506 + (DDI number or Schedule) — time F
- *507 + (DDI number or Schedule) — time G
- *508 + (DDI number or Schedule) — time H
- *509 + (DDI number or Schedule) — time I
- *510 + (DDI number or Schedule) — time J
- *511 + (DDI number or Schedule) — time K
- *512 + (DDI number or Schedule) — time L
Where the DDI number is the assigned number and Schedule is the schedule to activate, e.g. 01 = Schedule 1, 02 = Schedule 2, 03 = Schedule 3, …
Disable forwards
- *700: disables ALL forwards (internal and external)
- *710: disables ONLY external forwards
- *720: disables ONLY internal forwards
To enable forwards, the format is *7XYdestination where:
X sets the scope:
- 0: affects both (internal and external)
- 1: affects external calls only
- 2: affects internal calls only
Y sets the forward type:
- 1: unconditional forward
- 2: forward if busy
- 3: forward if no answer
- 4: forward if busy or no answer
Examples:
- *701900123456: unconditional forward for ALL calls to 900123456
- *711900123456: unconditional forward for EXTERNAL calls only to 900123456
- *721100: unconditional forward for INTERNAL calls only to extension 100
- *703900123456: forward if no answer for ALL calls
- *713900123456: forward if no answer for EXTERNAL calls only
Backward compatibility with the old format: the old codes still work and affect both call types:
- *70: disables all forwards
- *71destination: unconditional forward for all calls
- *72destination: forward if busy for all calls
- etc.
The function now automatically determines the scope from the dialled code format and updates only the necessary database fields accordingly.
Group calls
*6XX
From your phone you can call any group knowing its code, where 'XX' is the group code. For example:
- *601 call to group 1
- *602 call to group 2
Callback
30
'Callback' is a useful function that sets up an automatic call when the destination could not originally be reached. It triggers in two common cases:
- Busy signal
- No answer